To reduce image size without changing decoded pixels, choose a lossless output such as PNG. For smaller photographic files, use lossy compression and inspect the result. The FindUtils Image Compressor provides format and quality controls; it does not promise a fixed saving.
Large images can increase page transfer size. The useful reduction depends on the source, dimensions, format, and quality requirement. This guide separates those decisions so you can measure the actual output.
Lossy vs Lossless Compression: What's the Difference?
Image compression falls into two categories: lossy and lossless. The right choice depends on your image type and how you plan to use it.
Lossy Compression
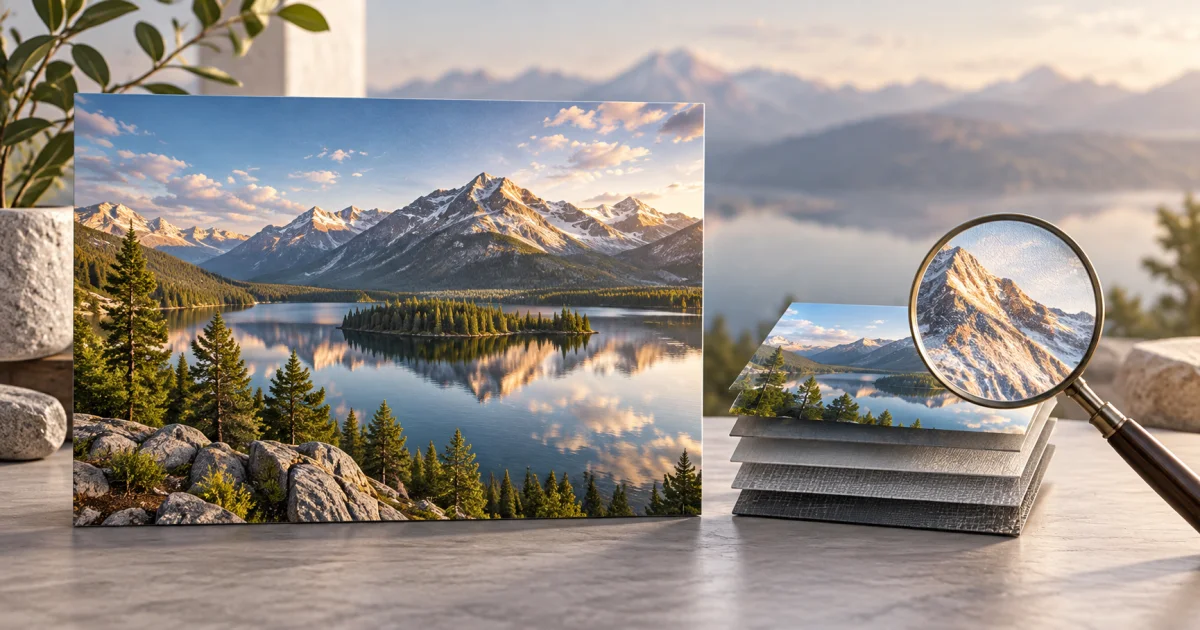
Lossy compression changes decoded image information. It can reduce storage at the cost of visible detail, edge quality, or smooth gradients. No quality-slider value guarantees that changes are invisible.
Use photographs, fine text, and gradients as separate review cases. Compare the output at its intended display size and inspect important details at full resolution. Retain the original if you may need another export.
Lossless Compression
Lossless encoding preserves the pixels supplied to that encoder. It does not establish that an earlier resize, decode, color conversion, or metadata change preserved the entire source file.
The FindUtils PNG path encodes pixels as PNG and applies OxiPNG optimization. Its slider controls compression effort. The JPEG, WebP, and AVIF paths use quality controls. Compare output size after processing; a new file can be larger than an already efficient source.
Choose an output format for the destination
JPEG, PNG, WebP, and AVIF serve different requirements. Check the receiving application, transparency, and acceptable pixel changes before choosing a format. The MDN image-format guide explains the format capabilities.
| Need | Choice to evaluate | Check |
|---|---|---|
| Broad still-photo compatibility | JPEG | Lossy detail and lack of alpha |
| Preserve the encoder's input pixels | PNG | File size and source metadata needs |
| Web image with alpha | WebP or PNG | Destination support and chosen encoder mode |
| Alternative photo compression | AVIF | Destination support, encode time, and visible detail |
No format is smallest for every input. Export representative images before changing a whole collection. The same numeric quality setting has different meanings in different encoders.
Compression Quality Settings Explained
The quality slider is an encoder control, not a percentage of preserved detail. A value of 85 does not mean that 85% of the original information remains. A value of 100 does not make every format lossless.
For a first comparison, export one photograph at several settings. Record the byte size and inspect faces, text, texture, and color gradients. Choose the smallest result that meets the intended use.
For PNG, use the compression-effort control. Greater effort can take more time without changing the pixels supplied to the PNG encoder. Do not compare a PNG effort value directly with JPEG quality.
Step-by-Step Image Compression
Step 1: Resize First (If Needed)
Before compressing, check whether your image dimensions match where it will be displayed. A 4000x3000 photograph displayed at 800x600 wastes bandwidth on pixels nobody sees. Use the FindUtils Image Resizer to bring dimensions down to your target display size first, then compress.
A change from 4000 × 3000 to 1200 × 900 reduces the pixel count from 12,000,000 to 1,080,000. The file-size reduction must be measured after encoding.
Step 2: Upload to the Compressor
Open the FindUtils Image Compressor and drag your images into the upload zone. You can add multiple JPEG, PNG, WebP, or GIF files at once for batch processing. Available memory and image dimensions limit a practical batch.
Step 3: Choose Your Quality Level
Adjust the quality slider based on your use case:
- 85% for web photos and portfolios
- 75% for blog content and thumbnails
- 90%+ for professional photography or print
- 60-70% for quick sharing where file size matters most
After processing, compare the original and output byte sizes before downloading.
Step 4: Preview and Compare
Review the compressed output. The tool displays original size, compressed size, and percentage saved for each image. If any image looks noticeably worse, increase quality by 5-10% and reprocess.
Step 5: Download Compressed Images
Download individual images or use the Download All button to get every file at once. Your originals remain untouched on your device since all processing happens in the browser.
Batch Image Compression: When and How
Compressing one image is straightforward. Compressing 50 product photos, 200 blog images, or an entire photo library requires a batch workflow.
Online Batch Compression (FindUtils)
The FindUtils Image Compressor supports batch processing directly in the browser. Drag multiple files in, set a global quality level, and download all compressed images at once. This works well for batches up to about 50 images, depending on your device's memory.
Best for: Small to medium batches (5-50 images), occasional use, no software installation
Command-Line Batch Compression
For large-scale compression (hundreds or thousands of images), command-line tools are faster:
- ImageMagick:
mogrify -quality 85 -strip *.jpgcompresses every JPEG in a folder - cwebp (Google):
for f in *.jpg; do cwebp -q 85 "$f" -o "${f%.jpg}.webp"; doneconverts and compresses to WebP - Sharp (Node.js): Programmable image processing for build pipelines
Best for: Large batches (100+ images), automated workflows, CI/CD pipelines
Batch Compression Workflow for Websites
For a collection of product photos, use a repeatable acceptance process:
- Choose the display dimensions and any required zoom size.
- Resize a copy of each source to those dimensions.
- Export representative images with the selected codec and quality.
- Record actual output bytes and inspect visible details.
- Confirm metadata requirements and destination support.
- Apply the approved settings to the remaining files.
Review metadata separately from image quality
Photos can contain location, camera, or date metadata. Presence depends on the device, settings, and earlier processing. Do not assume that every photo contains GPS coordinates.
The EXIF Remover creates a new image through browser canvas encoding. That process can alter pixels for lossy output. Read the EXIF removal guide before using it after another lossy encode.
Verify the final downloaded file with a metadata reader. A visual inspection alone cannot show whether hidden metadata remains.
Common Compression Mistakes to Avoid
Mistake 1: Compressing Already-Compressed Images
Re-compressing a JPEG that was already saved at 85% quality applies lossy compression twice, compounding quality degradation. Always compress from the original source file, not from a previously compressed copy.
Right: Original photo at 100% -> compress to 85% (one pass) Wrong: Photo at 85% -> compress again to 85% (two passes, visible artifacts)
Mistake 2: Over-Compressing Below 60% Quality
Quality below 60% produces visible blocky artifacts, color banding, and blurriness. Always preview compressed output before using it. If the side-by-side comparison shows noticeable degradation, increase the quality setting.
Mistake 3: Using the Wrong Format for the Image Type
Photographs should use JPEG or WebP (lossy formats that handle gradients and complex detail well). Graphics, logos, screenshots with text, and images with transparency should use PNG or WebP lossless.
Right: Product photo saved as WebP at 85% Wrong: Product photo saved without checking the destination and output size Right: Company logo saved as PNG or SVG Wrong: Company logo saved as JPEG (artifacts around sharp edges and text)
Mistake 4: Ignoring Image Dimensions
Compressing a 4000x3000 image that will display at 400x300 is wasteful. Resize first, then compress. A lower pixel count can reduce output size. Measure the encoded file to determine the actual change.
Mistake 5: Forgetting to Strip Metadata
EXIF data adds unnecessary bytes and can expose private information. Always remove metadata from images published on the web. Use the EXIF Remover or enable metadata stripping in your compression workflow.
Image Compression for Specific Use Cases
E-Commerce Product Photos
Product images need to look sharp while loading fast. Compress at 85-90% quality in WebP format. For zoom-capable product viewers, serve a lower-quality thumbnail and load the full-resolution version on demand.
Blog and Content Sites
Blog hero images and inline photos perform well at 75-85% quality. Resize to a maximum width of 1200px for standard layouts or 1600px for full-width designs. Measure total page weight separately; image dimensions alone do not set a byte budget.
Email Newsletters
Email clients handle images inconsistently. Compress to 70-80% quality and keep total email size under 1MB. Use JPEG rather than WebP since some email clients lack WebP support.
Social Media
Social platforms re-compress uploaded images aggressively. Pre-compressing at 85% quality and matching the platform's recommended dimensions (e.g., 1080x1080 for Instagram) produces sharper results than uploading oversized originals. Use the FindUtils Social Media Image Resizer for platform-specific dimensions.
Tools Used in This Guide
- Image Compressor -- Compare image formats and quality settings against measured output size
- Image Converter -- Convert images to WebP, PNG, JPEG, and other formats
- Image Resizer -- Resize images to target display dimensions before compressing
- EXIF Remover -- Strip GPS, camera, and timestamp metadata from photos
- Social Media Image Resizer -- Resize images to platform-specific dimensions
- Photo Editor -- Crop, adjust, and enhance images before compression
FAQ
Q1: What quality setting should I use to compress images without losing quality? A: Use a lossless encoder when pixel preservation is required. For lossy output, compare several settings on your own image. No fixed quality value guarantees an invisible change.
Q2: Is WebP better than JPEG for image compression? A: The result depends on the input, settings, and destination. Compare actual files at acceptable visible quality. Confirm that the receiving application accepts WebP.
Q3: Is the FindUtils image compressor free? A: Yes. FindUtils Image Compressor is available without signup, no usage limits. Processing happens in your browser, so your images are never uploaded to any server.
Q4: Can I compress multiple images at once? A: The tool accepts multiple images. Practical batch size depends on decoded dimensions and browser memory. Review each output before distribution.
Q5: Does image compression remove EXIF data? A: Most lossy compression tools strip EXIF metadata automatically. For explicit control, use the FindUtils EXIF Remover before or after compression to ensure GPS coordinates, camera info, and timestamps are removed.
Q6: How much can I reduce an image file size? A: Measure the output for your image. Dimensions, existing compression, codec, and quality requirements determine the result; there is no fixed reduction.
Next Steps
- Learn Format Conversion to choose the best format for your images
- Master Image Resizing to optimize for different devices and displays
- Explore all image tools in the Complete Image Tools Guide