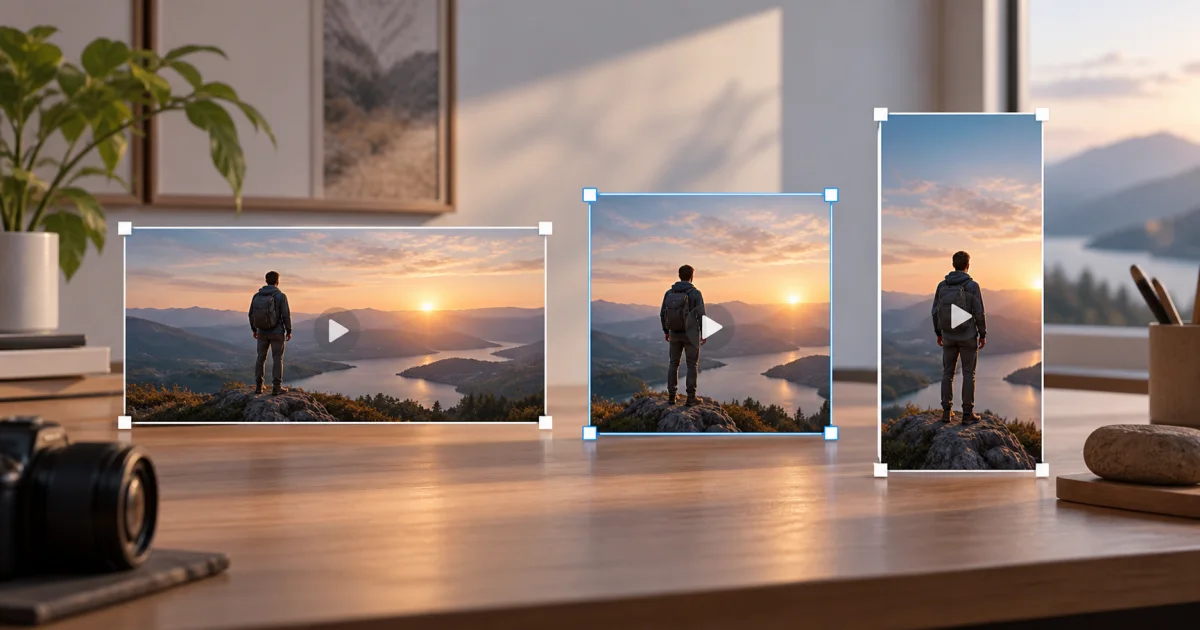
The FindUtils Video Resizer changes a video's pixel dimensions with resolution presets or custom width and height. The current tool exports silent WebM video. It stretches the full source frame to the selected dimensions, with no crop or padding mode. Use it when these limits suit the intended result.
This guide explains how to preserve the source shape, select dimensions, and review the download. Keep the original file, especially when it contains audio that you need.
When to Resize a Video
Resizing changes the number of pixels used for the frame. It can prepare a clip for a fixed-size placement or produce a smaller frame from a larger source. It does not add detail that the camera did not capture.
Use the resizer when:
- You need specific dimensions — enter the required width and height for a placement.
- The source has more pixels than needed — choose a smaller size with the same aspect ratio.
- The output can be silent — the current export contains no audio track.
- The destination accepts WebM — the current tool has no MP4 export choice.
A lower resolution does not guarantee a smaller file. Duration, codec, and encoding settings also affect file size. Compare the original and the download when size matters.
How to Resize a Video Online
Use a short sample first. Check that the browser can play the input and create the required WebM output.
Step 1: Load the Video
Open Video Resizer and select the local file. Wait for the preview and original dimensions to appear. The resize operation reads the selected file through a browser object URL.
This local-file workflow does not upload the selected video for resizing. It does not establish that the whole page makes no network requests. Follow your organization's rules for confidential recordings.
Step 2: Choose a Preset or Custom Size
Select a preset or choose Custom. With Custom selected, enter the target width or height. Enable Maintain aspect ratio before you edit a dimension if you want the other dimension calculated from the source shape.
The ratio option applies when you edit custom dimensions. It does not change a fixed preset to match the source. Check both output dimensions before you start.
For example, a 1920×1080 source and a 1280×720 target both use 16:9. A 1080×1920 target uses 9:16 and changes the shape. This tool stretches the picture when those ratios differ.
Step 3: Resolve Any Shape Difference
The current resizer has no option to crop or add padding. Use the original aspect ratio to avoid distortion. If you need a different composition, crop the source first with Video Cropper.
Check that the cropped source and target dimensions use the same ratio. Then resize only if you accept the loss of audio in this tool. Use another editor when you need padding, retained audio, or a different output format.
Step 4: Export and Check the Download
Start the resize operation and keep the page available until processing completes. The tool records the resized picture while the source video plays. It is not a fixed-duration conversion that always finishes in seconds.
Download the WebM file. Check its dimensions, duration, frame motion, and file size. Confirm that a silent clip is suitable. Open it in the destination application before you publish.
Available Resolution Presets
These are the current tool options. Their names describe presets, not guaranteed acceptance by a social service.
| Preset | Width × height | Shape or use |
|---|---|---|
| 4K | 3840×2160 | 16:9 landscape |
| 1080p | 1920×1080 | 16:9 landscape |
| 720p | 1280×720 | 16:9 landscape |
| 480p | 854×480 | Approximately 16:9 landscape |
| 360p | 640×360 | 16:9 landscape |
| Square | 1080×1080 | 1:1 square |
| Instagram Story | 1080×1920 | 9:16 portrait |
| Custom | Values you enter | Check the ratio against the source |
For a 4:5 frame such as 1080×1350, use custom dimensions only after preparing a source with that shape. Entering those values against a landscape source stretches it.
Check the destination's current file and dimension requirements separately. A matching ratio does not establish a ranking benefit or prevent every later crop.
WebM Output, Audio, and Encoding Limits
The resizer draws source frames onto a canvas. It records that canvas as VP9 video in a WebM container. It does not add the input audio track to the recording.
| Setting or feature | Current behavior |
|---|---|
| Output container | WebM |
| Requested video codec | VP9 |
| Requested capture rate | 30 frames per second |
| Requested video bitrate | 5,000,000 bits per second |
| Audio | No output audio track |
| Shape handling | Stretch to the target dimensions |
| Crop or padding controls | Absent |
The frame rate and bitrate above are requested settings in the tool. They are not measurements of a downloaded file. Browser support, processing load, and recording behavior can affect the actual result. Check the file when you need exact delivery properties.
A browser that cannot create the requested VP9 WebM recording can fail to export. The current tool has no alternate codec or container selector. Use another editor when the destination requires MP4 or retained sound.
Common Resizing Mistakes
Expecting an Audio Track
The input can play with sound, but the exported file is silent. Keep the original recording. Do not use this export as the only copy of a narrated presentation, interview, or music clip.
Selecting a Different Ratio Without Cropping
A landscape-to-portrait preset change stretches the full image. Faces and circles can appear distorted. Crop to the intended ratio first, or use an editor with a fit-and-padding option.
Upscaling to Recover Detail
Increasing a 720p source to 1080p increases its dimensions. It does not recover detail absent from the source. Start from the largest useful original, then review the result at its actual display size.
Assuming a Smaller Resolution Means a Smaller File
The tool requests the same video bitrate across presets. A smaller output frame can still produce a larger file than a tightly compressed source. Compare file sizes and visible quality before you replace the original.
Processing Unneeded Footage
Select the useful time interval before resizing a long clip. The Video Trimmer is a related tool. Check the trimmed result's duration before you load it into the resizer.
Checking Only the Preview
The preview shows the input. Review the saved output for duration, motion, dimensions, and silent playback. Check more than the first frame, particularly when the recording contains fast movement or small text.
Related Media Tools
- Video Resizer — Change dimensions and export silent WebM.
- Video Cropper — Select the region to keep before a separate resize operation.
- Video Trimmer — Select a shorter time interval.
- Image Resizer — Change dimensions for a still image or thumbnail.
- Image Compressor — Adjust image compression, then compare output quality and size.
FAQ
Q1: Can I resize a video without an account? A: The Video Resizer opens without an account. It processes the selected local file in the browser.
Q2: Does Video Resizer preserve audio? A: No. The current recording uses a canvas video stream with no audio track. Keep the original if you need its sound.
Q3: Can I export MP4? A: The current output is WebM with a requested VP9 codec. There is no MP4 selector.
Q4: How do I resize without stretching? A: Use Custom with Maintain aspect ratio enabled, then edit one dimension. Check the output ratio. Fixed presets do not adapt to the source ratio.
Q5: How do I turn a landscape clip into a vertical clip? A: Crop to a vertical composition first. Resize to matching dimensions only if silent WebM meets your needs. This resizer does not crop or add padding.
Q6: Will the file be smaller? A: It depends on the source and recording settings. A lower resolution alone does not guarantee a smaller file. Compare the download with the original.
Q7: How long does resizing take? A: The tool records during source playback. Clip duration and browser performance affect completion. This guide provides no measured speed result.
Next Steps
- Read the Video Cropper guide when you need to change the visible region.
- Prepare a shorter source with the Video Trimmer.
- Use the Image Resizer for a still thumbnail.